Friday, June 1, 2012

A little of this and a little of that!


 Just an update on life!  I think that we finally have Henry's lactose intolerance issues under control.  We found a store about an hour from home where we can buy lots of lactose free products, which is a huge blessing.  Up until then, we had been just omitting the items that we didn't have for himNow, we have sour cream, cream cheese, shredded cheese, so it makes it so much easier to make meals!  

Logan's soccer season is in full swing and he is having a wonderful time, just like always.  A few weeks ago, we got a ton of rain and unfortunately, where the field is at always floods.  Well, unfortunate for the parents.  Kids had a ton of fun, diving into the mud puddles, running through, sitting in it.  Laundry was awful after that, but it was worth it to see the excitement and fun the kids had.  We were also able to get our garden started a couple weeks ago.  I am planning on canning up a storm this year, since I wasn't able to do anything last year.  Already have bean plants, cucumber plants, zucchini plants and tomato plants going full steam ahead!  We are very excited to start harvesting!  It has been so unseasonably warm around here that we finally broke down and put up the little's swimming pool.  They have already had a ton of fun in it, and Logan likes to sneak in when it is really hot!


My roses are blooming!  Sophie loves them and is a huge helper with all of the flowers and garden, too!

Just one last picture of the three munchkins on a standard day around our house!  They are all getting so big!  :)


Thursday, May 31, 2012

Diapers to Toys

 If your family is anything like ours, you probably have a lot of these boxes around!  I found a cute idea surfing a few blogs one day, to cover boxes and reuse them.  So, here is my take on that idea!  


I ordered canvas material from my favorite online store.  www.fabric.com  Then, I went to Wal-Mart and raided the clearance fabric section for cotton prints that would be fun for the kids.  I only purchased 1 yard of the cotton fabric, which worked perfect for this size diaper box.  I ordered a ton of the canvas because I knew I would want to do more than just this one! 
 Also at Wal-Mart, I purchased Spray Adhesive.  It works awesome for this project.  I cut the top four pieces of cardboard off with a knife and ripped off any of the cardboard that was loose.  Then set the box in the middle of the canvas and started by spraying the bottom first and then each side of the box. 


I cut the corners one at a time and did a slight overlap with one side or the other to make sure there was not any cardboard still showing. 


After I had all the sides and bottom done, I folded over the left over canvas on top, leaving about 2inches inside the box.  The canvas material is quite strong material and really seems to hold up well under my 16 month olds climbing in and out of the box.  This is why I left so much extra, I wanted the top of the box to be strong too.


I then started on the cotton fabric for the inside.  Did the same type of spraying and gluing as the outside, but left the corners for an overlapped kind of look.  You can cut the corners out if you want to do that, too.  I did, for a different basket I made and it worked great.


You really want to leave a couple inches of the material for the outside of the basket, so the glue has a little more to hold on to.  I left two inches all the way around and then ended up doing a little trimming because I wanted to add a ribbon.


Since I don't have a ton of sewing skills (ok, really none!!), I used a ribbon with an adhesive back.  It was so easy to stick on right where I wanted it and to make the little pull handle at the end.  I used a piece of the canvas material on the back of the pull handle to make it stronger, then glued it on with the spray adhesive as well.  But, look how well it holds up!  He is 20 lbs and inside the toy box.  He climbs, in and out and in and out all day long!  Just a fun way to reuse an old cardboard box and spice up the decoration, too!   

Sweet and Sour Chicken with Fried Rice

This recipe is one that we use often at our house.  It is fairly healthy and a nice change to every day meals.  Prep and cook time for this one is a little more intensive though, so if you decide to try it, be sure you can devote your attention to it.  Otherwise, you will be like me and it will take 3 hours to get it done!  ;)

It is wonderful though and definitely worth the extra work!

Baked Sweet and Sour Chicken

The chicken coating:                                            The sweet and sour sauce:               3-4 boneless chicken breasts                                  3/4 cup sugar
salt and pepper                                                    4 tbs ketchup
1 cup cornstarch                                                  1/2 cup vinegar
2 eggs, beaten                                                     1 tbs soy sauce
1/4 cup canola oil                                                 1 tsp garlic salt


Start by preheating your oven to 325 degrees. Rinse your chicken breasts in water and then cut into cubes.  Season with salt and pepper to taste. Dip chicken into the cornstarch to coat then dip into the eggs. 
Heat your 1/4 cup oil in a large skillet and cook your chicken until browned but not cooked through.  Place the chicken in a 9x13 greased baking dish.
Mix all of your sweet and sour sauce ingredients in a bowl with a whisk and then pour evenly over the chicken.  Bake for one hour and during the baking process you will need to turn the chicken every 15 minutes. 

Fried Rice                                                                                            
3 cups cooked white rice
3 tbs sesame oil
1 cup frozen peas and carrots (thawed)
1 small onion, chopped
2 tsp minced garlic
2 eggs, slightly beaten
1/4 cup soy sauce

On medium high heat, heat the oil in a large skillet or wok. 
Add the peas/carrots mix, onion and garlic. Stir fry until tender.
Lower the heat to medium low and push the mixture off to one side, then pour your eggs on the other side of skillet and stir fry until scrambled.
Now add the rice and soy sauce and blend all together well. Stir fry until thoroughly heated!  
**You could really play around with this rice too!  Try adding some diced ham, or green onion :)  
**For our family, I use 3 lbs of chicken breasts and then double the sweet and sour sauce recipe.  I follow all of the other directions, but we like to have the extra sauce!  It really is wonderful!
Enjoy!


Wednesday, May 30, 2012

Home Made Animal Crackers


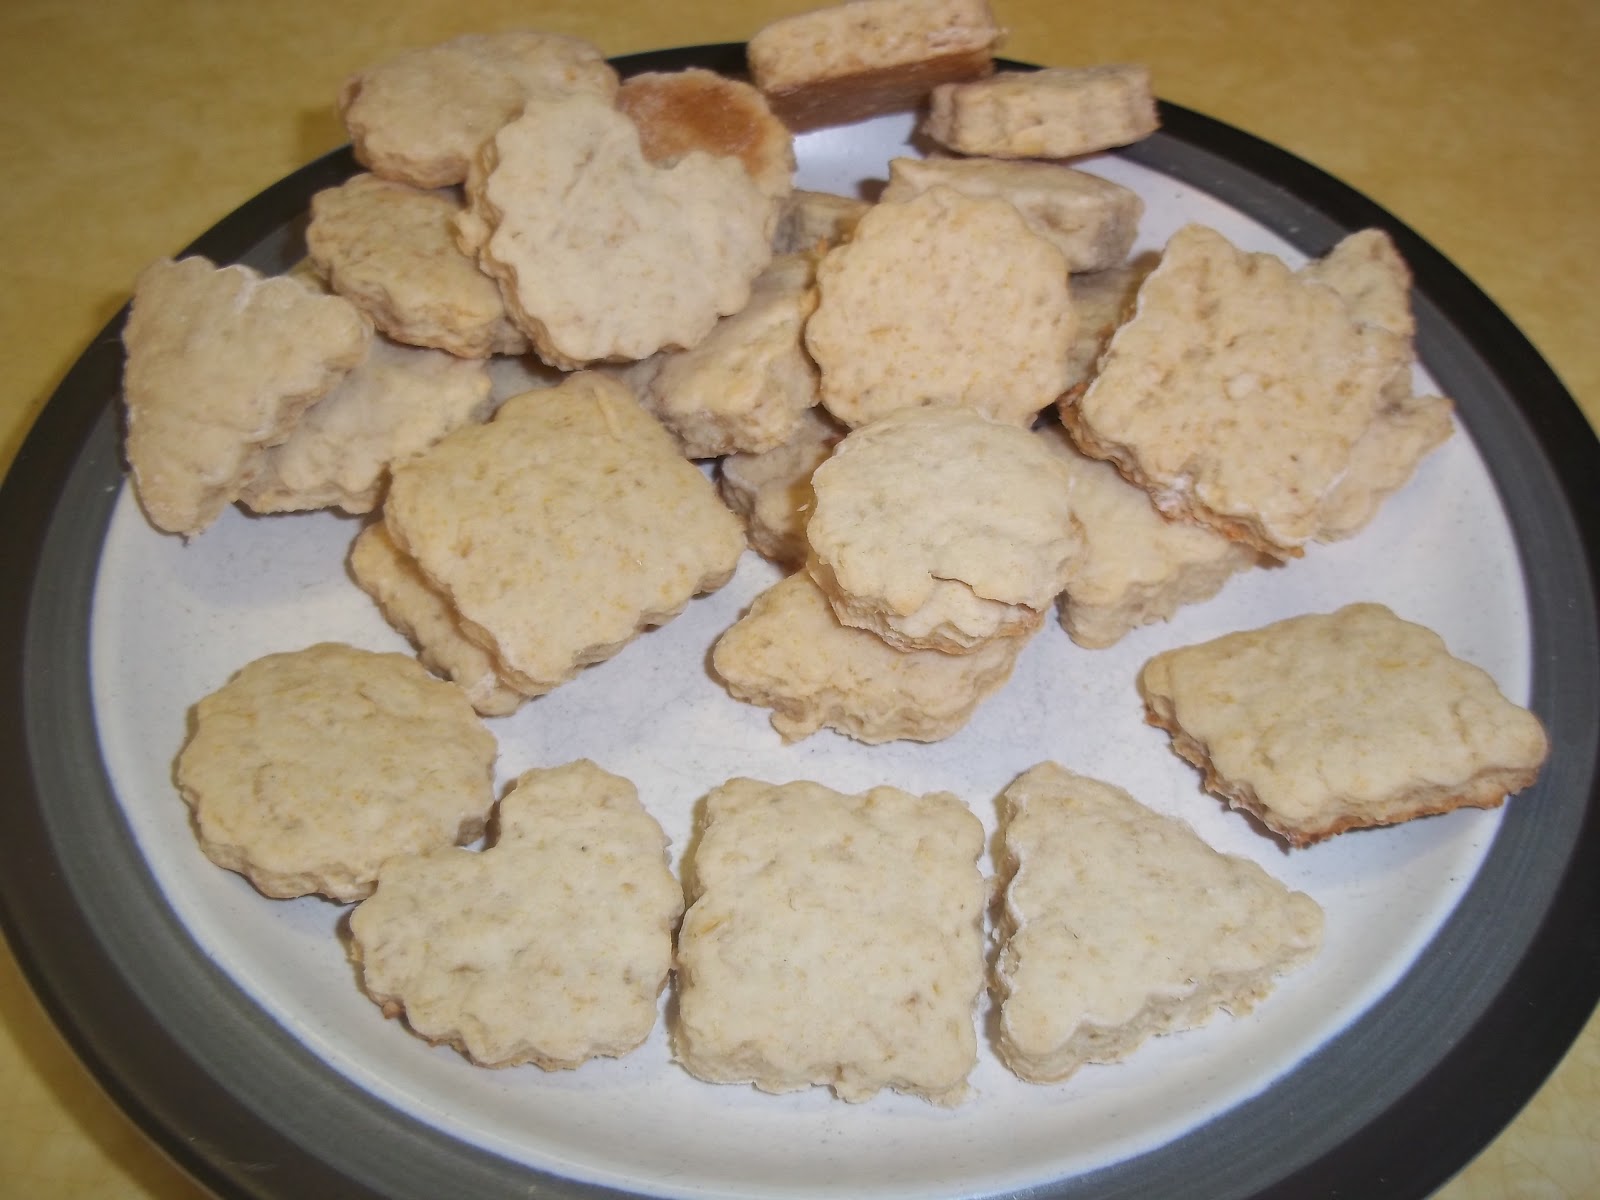
With the littlest of our family having the recent diagnosis of lactose intolerance, I have found myself making more and more food at home.  This recipe is fun, can be done with a 2 1/2 year old (fairly easily!!) and is quick.  I will post the recipe for regular crackers, but remember it doesn't take much to substitute if you are looking for lactose free!  

Ingredients:

1/2 cup rolled oats
3/4 cup all-purpose flour
1/4 teaspoon baking soda
1/4 teaspoon salt
1/4 cup butter
2 teaspoons honey
1/4 cup buttermilk

Directions:

Preheat the oven to 400 degrees F (200 degrees C). Grind oats until fine using a blender or food processor.

In a medium bowl, stir together the blended oats, flour, baking soda and salt. Cut in the butter using a pastry blender or your fingers until the butter lumps are smaller than peas. Stir in the buttermilk and honey to form a stiff dough. On a lightly floured surface, roll the dough out to 1/4 inch in thickness. Cut into desired shapes with cookie cutters. Place cookies 1 inch apart onto cookie sheets or pizza pans!


Bake for 5 to 7 minutes in the preheated oven, until edges are lightly browned. Remove from cookie sheets to cool on wire racks.   Makes about 48-60 cookies depending on the size of your cutters.  I filled my reusable peanut jar (pictured above) and still had about 10 left over. 


To make these little gems lactose free, I simply substituted regular butter for soy butter and made my own buttermilk with soy milk and lemon juice.  I also decided to add a little extra honey into them since the real "animal cracker" has more of a sweet taste to it.  I ended up using 4 tbsp of honey vs. what the original recipe called for.  Still makes a wonderful, healthy snack for my littlest man!  Enjoy!

Home Made Laundry Detergent

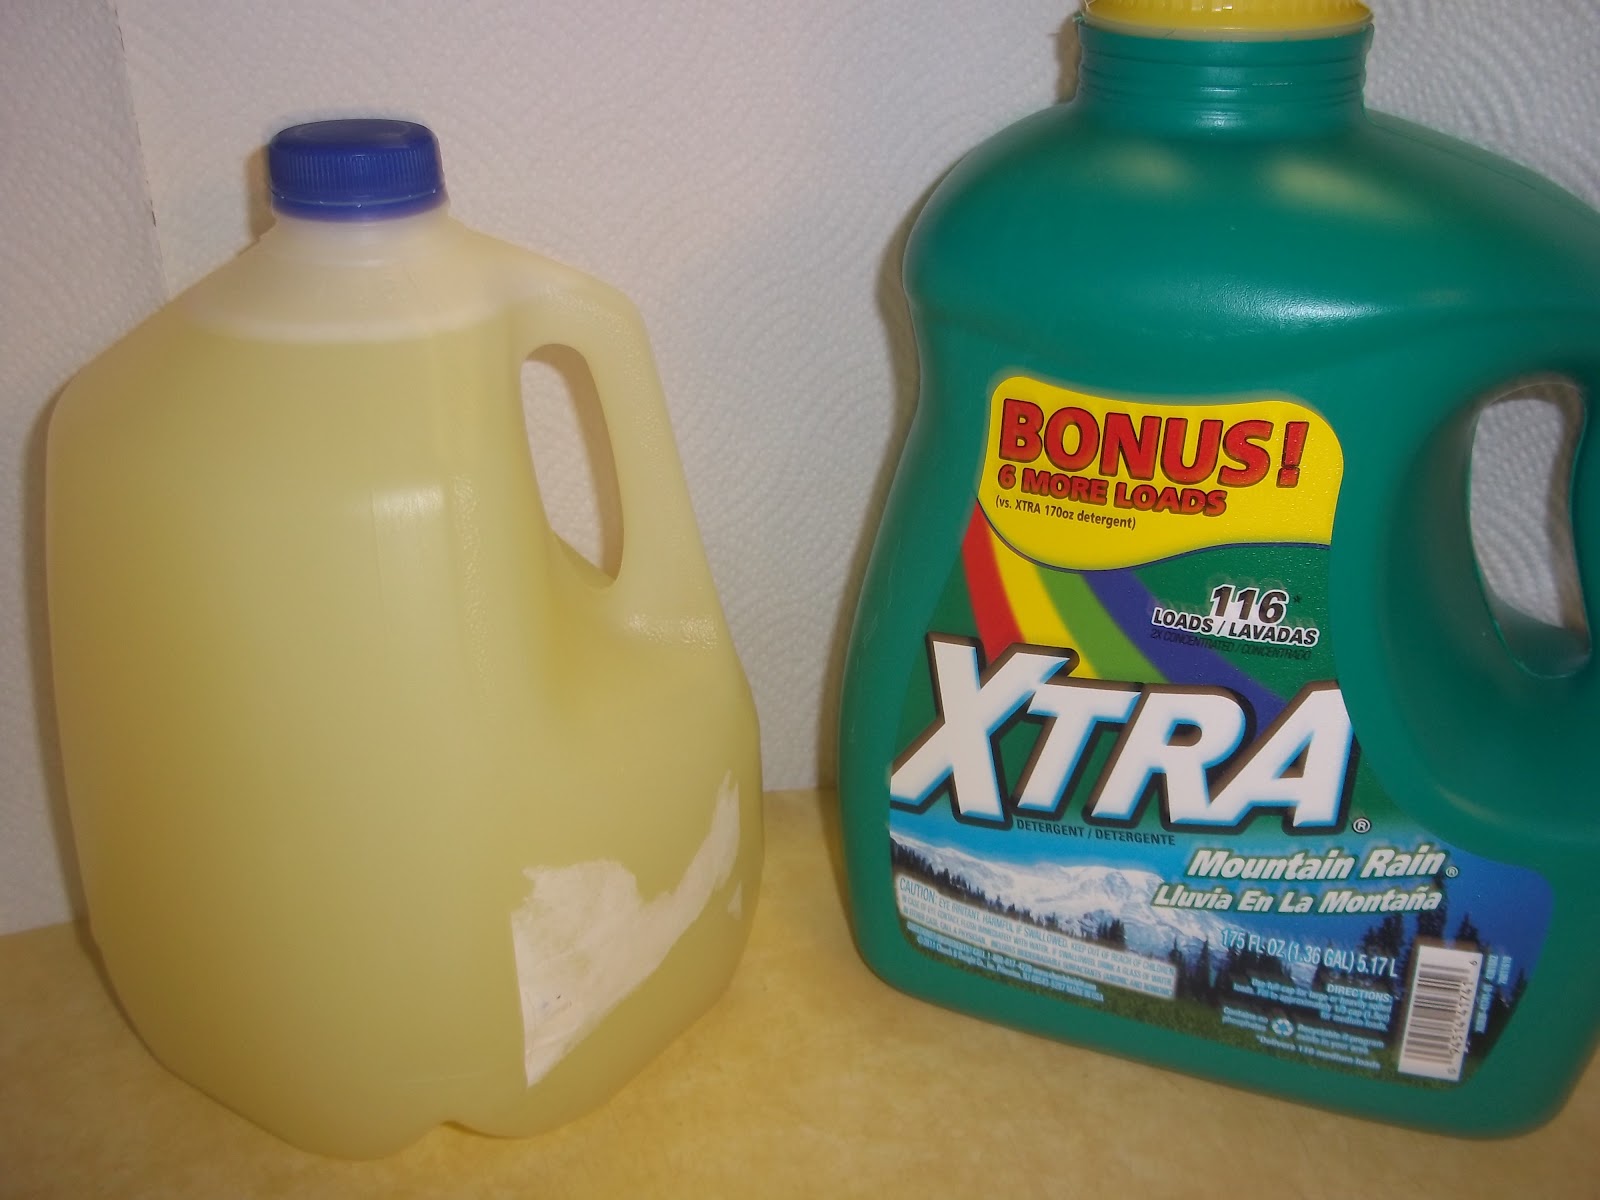
It really is this easy.  Today, I figured out what the cost of making my own laundry detergent vs. buying it at the store...I am saving $.12 per load...yes, per load.  Store bought detergent costs about $.13 on average to wash one load of laundry.  With the batch of detergent I made today, I will be washing our clothes for $.015 per load.  Worth my 25 minutes of time, all day long!  I was slightly skeptical of trying this project because I have two of three kids with skin irritations.  Logan and Sophie both have eczema, plus Sophie's skin is super sensitive to everything.  About 2 weeks ago, I made a sample (smaller) batch of this and fell in love.  The scent is wonderful, the cleaning power is fantastic and it does not irritate my kids skin AT ALL!!  Hooray!  Here's the step by step.  All of the ingredients needed can be found in the laundry department of your shopping center.   

Ingredients:
 
1/3 bar of Fels-Naptha (grated)
1/2 cup Borax
1/2 cup Washing Soda (do not use baking soda!!)
bucket (has to hold at least 2 gallons)
empty containers with lids for storage (washed out milk jugs, old laundry soap bottles, old fabric softener bottles, anything!)

Directions:

In a large pan, combine 6 cups water and Fels-Naptha soap.  Over medium heat, cook until all of the soap is melted.  Add Borax and Washing Soda and stir slowly until both have dissolved.  The consistency should be slightly like gel.  


Pour 4 cups of hot water and the mixture into a bucket.  Add 1 gallon (16 cups) and 6 cups (total 22 cups) of water.  Stir.

Pour detergent into sealed containers and let sit for 24 hours.   The consistency may be different, depending on what type of water you have, watery and lumpy is fine, it still works great!  Stir or shake the container before each use, because the detergent will continue to gel.  This is a very low sudsing soap and works great in HE washers.  For top load washers, use 1/2 cup per load.  For extra dirty laundry, you can add up to another 1/4 cup.  For HE machines, use 1/4 cup per load.  Here's the break down on price:


Fels-Naptha $1.00/bar at Wal-Mart
Arm & Hammer Washing Soda $2.89 at Wal-Mart
Borax $2.98 at Wal-Mart


Using the small amount of the soda and Borax, you will only be spending about $1.02 on this entire batch of detergent.  The above recipe will make a little more than 2 gallons of detergent.  That is 64 loads of laundry (in a top load).  


Other positive aspects of this detergent are:

Fels-Naptha is a natural pretreater.  I have not pretreated anything since I started using this.  It also removes the oils from poison ivy from your clothes.  It also has a clean, fresh scent that I personally love.  If you are not big on the scent, you can add essential oils to this recipe to change the scent to your preference.  


And you are done.  I couldn't believe this was it.  It works.  Try it out and let me know what you think!  :)


Saturday, May 26, 2012

Shredded Chicken Taco's

My newest creation is Shredded Chicken Taco's.  Such a huge success at our house!  :)  We love taco's.  At least once a week, one of the kids or the hubby requests taco's.  Now, don't get me wrong, I love taco's too, but over and over again, get a little tiring.  So, I started brainstorming new ideas for our taco nights.  I found a few recipes that looked okay, but not something that I thought my whole family would enjoy.  So, I took a few different recipes and came up with my newest idea.

Ingredients:
1 package of taco seasoning

1 package of ranch dressing mix
1/2 cup sour cream
4 chicken breasts, shredded
10-12 corn taco shells
The following ingredients are all optional, it is what you generally put on a taco!  Just use what you already love!
1 large tomato
1 can black olives
1 large onion  
shredded lettuce
shredded cheese
taco sauce (Pace, Ortega, your favorite!)

In medium bowl, mix sour cream, package of ranch dressing mix and 2 tbsp taco seasoning.  Cover and refrigerate until ready to eat.

 Quarter each chicken breast and place in large frying pan.  Add 2 cups of water and the rest of taco seasoning to the chicken.  Over medium heat, cook the chicken for about 10 minutes, turning occasionally.  After the chicken has cooked, take each quarter out and shred it with a fork and knife.  Replace all shredded chicken in the pan with the water and seasoning.  Simmer for 10 minutes.


While the chicken is simmering, prepare the rest of your toppings, tomato, onion, black olive, etc.  When the chicken is ready, almost all of the juice will be soaked up into the pieces.  Using tongs, place chicken on a serving platter!


At our house, frying individual taco shells one at a time is way too time consuming!  I place the taco shells on a dish towel arranged as I have them in the picture to the left.  Wrap the towel around the shells and place in the microwave for 1 minute and serve!


Top each taco with your regular veggies, the sour cream mixture and Ortega sauce (if you want!!)  Enjoy!


Wednesday, May 23, 2012

Home Made Fabric Softener

I am always on the lookout for something easy and green to help my family save money and not bring so many chemicals into our house.  Having the two littles (Sophie, 2 1/2 and Henry, 15 months) at home with me 24/7, I don't always have a ton of time to work on the green projects, but when I find something that looks as easy and money saving as this fabric softener recipe, I jump at the chance.  I am already using a home made laundry detergent (recipe to come soon!!) and I was surfing for a decent fabric softener recipe and came across this one.  It is super easy and quick to make.  I also adjusted the recipe to use it for dryer sheets too.  Using the following recipe, I filled my 65 load fabric softener jug about 3/4 full.  The bottle of conditioner cost $1 at the dollar store and the bottle of vinegar was $1.67.  When making this recipe, you will use the entire bottle of conditioner (15 oz.) and about 1/3 of the vinegar.  Total cost for 45 loads of laundry (including the dryer sheets) is $1.56.  Yep, I will take the time to make this recipe over and over again!!


Ingredients:

6 cups HOT water
2 cups Suave conditioner (your favorite scent!)
3 cups white vinegar


Pour the hot water and conditioner into a large pan or bucket.  


Slowly, mix them together with a whisk.  If you stir too fast, the mixture will bubble and you will have trouble getting it all to mix together. 


Add the vinegar and stir with a wooden spoon until mixture is completely combined.  

Store in an old fabric softener bottle or other air tight container.  I used a measuring cup with a pour spout to fill up my jug.  Use the softener in a softener ball, or two tablespoons in the softener section of your washing machine.  This will also work for HE machines!  :)


Then I used an old Tupperware container, put about 1/2 cup of the softener in the bottom and threw in my "dryer sheets".  In this case, old socks!!  I have found that it is a wonderful use for odd socks.  Just soak the sock in the softener, using a plastic fork or old fork, scoop one out and throw it in the dryer with the laundry. 

When the laundry is done, the sock is dry.  I just throw it back in the bowl and get out a new one for the next load.  I have done about 10 loads of laundry this way now and I do not have any static in my laundry or any odd "scent" from the softener socks!