Tuesday, May 15, 2012

Lemon Poppy Seed Doughnuts

Logan, Henry and I are all huge fans of lemon poppy seed.  It can be any form, muffin, cake or recently our newest favorite, the doughnut!  I had been searching in vain at Wal-Mart and other local stores for a doughnut pan with absolutely no luck.  I found one online for $15.95 plus shipping and tax.  Now, I have never made a doughnut before.  Ever.  Spending close to $20 on a pan that I am unsure if I will ever use again was a little more than I could choke down.  There is an outlet store about 35 miles from our house, but I had no other reason to drive up and hope the kitchen store had what I was looking for.  So, when I found out my friend Theresa had to go shopping for new shoes, I jumped at the chance for a little assistance in my search.  Thankfully, she was a wonderful friend and was able to help me out.  For only $8.99, I got a doughnut pan!  Promptly, two days later, I embarked on the wonderful process of doughnut making!  And just look at this amazing goodness!

Ingredients:
1/2 cup plus 1 tablespoon whole milk (or soy milk, which I used because of the lactose intolerance)
2 tablespoons sour cream
1 1/2 cup all purpose flour
1 1/2 teaspoons baking powder
1/2 teaspoon salt
6 tablespoons unsalted butter, room temperature
1/2 cup sugar
1 large egg
1 tbsp lemon juice
1 tablespoon poppy seeds

For the glaze:
3-4 tbsp lemon juice (really depends on how you want your glaze, thicker, less juice)
1 1/2 cups powdered sugar


Preheat oven to 350 degrees and grease doughnut pans.
In a small bowl, whisk together milk and sour cream. Set aside.
In another small bowl, whisk together flour, baking powder and salt. Set aside.
In large bowl, or stand mixer, cream together butter and sugar, until light and fluffy - about 1 minute. Add egg, lemon juice and poppy seeds. Beat for 30 seconds, scrapping down the bowl as needed.


Then alternating flour mixture and milk mixture, combine all ingredients until just combined. Do not over mix.


Transfer batter into a piping bag, or a Ziploc bag with the tip cut off.
Fill each doughnut indention 1/2 full. Bake for 6-8 minutes, or until the donuts are slightly browned and spring back when touched. Remove from oven, transfer to a cooling rack, and cool completely.


For the icing:
Place wax paper under a wire rack to collect drippings for an easy clean up.
In a medium bowl, whisk together the lemon juice and powdered sugar until smooth. Dip the top of each doughnut into the glaze and transfer to a wire rack to dry. Let set for 10 minutes and serve!
Will keep for a day or two in an airtight container, but are better fresh!

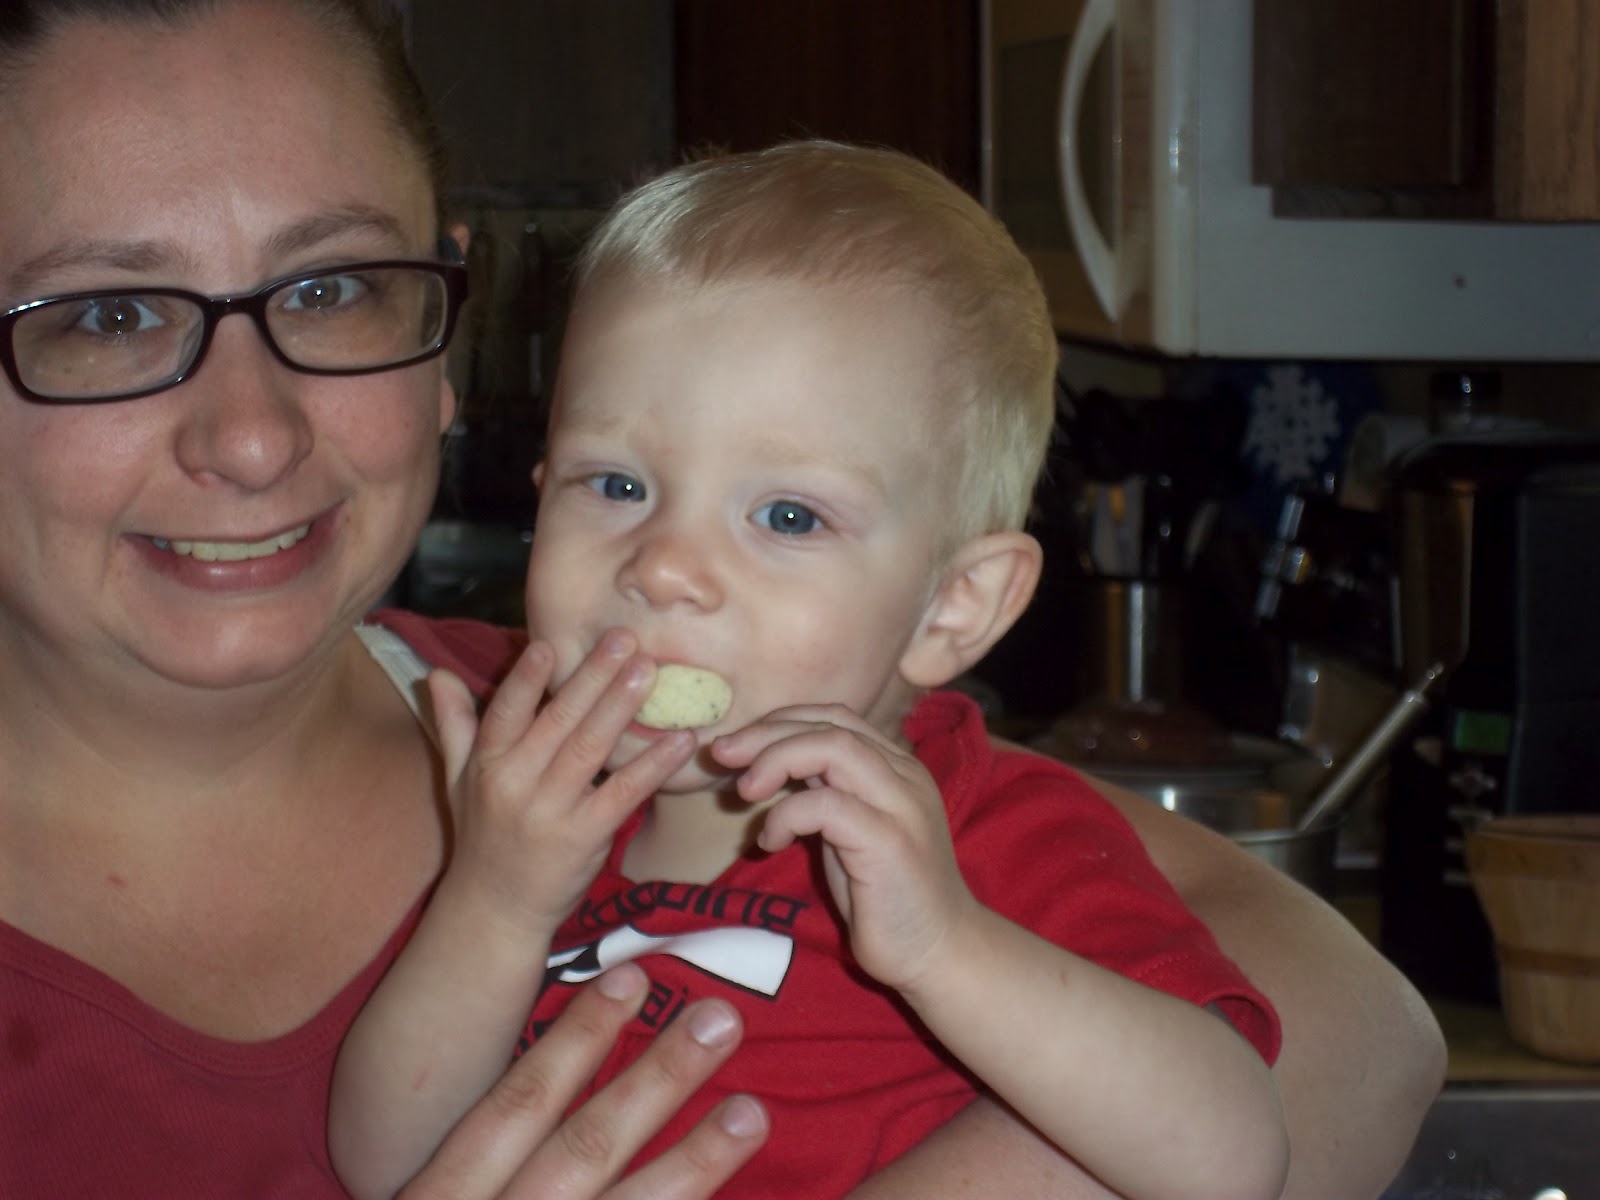

All this work, for a very happy baby and 9 year old.  Very worth it!  Oh, and I had a few too!  Enjoy!


Monday, May 14, 2012

Jumbo Shell Lasagna

Growing up I can remember always asking for Lasagna for dinner.  Every day, every week, all the time.  It was one of my favorite dinners.  It still is.  I love lasagna.  I am always up for a new version of lasagna, it can be so much fun to put a new spin on an old favorite.  This recipe has become one of my kids favorite meals in a very short amount of time.  The recipe is super easy, same ingredients except a different type of noodles.  


Ingredients:
1 pound ground beef, browned and drained
1 box of jumbo shells
1 can/jar spaghetti sauce (your favorite!)
1 large container of cottage cheese, small curd
2 cups of shredded cheddar cheese


Directions:
1.  Cook the noodles to the directions on the box.  After they are done, drain and let sit for about 5 minutes so you don't burn your fingers!  
2.  Take one shell and add about a tablespoon of ground beef, 1/2 tbsp cottage cheese and pour some spaghetti sauce on top.  Place the shell in an ungreased 9x13 cake pan and continue filling all the shells.

 3.  If you use all the shells in the box, you will have to tightly pack all of the filled shells into the cake pan.  (I have to do a few without cottage cheese and cheddar for my lactose intolerant son, so my pan is not quite as full.)


 4.  Once your pan is full, or your shells are gone, you will have about half a container of cottage cheese and 1 1/2 cups of spaghetti sauce left over.  I pour the extras over top of the filled shells and then add the shredded cheese.


5.  Place aluminum foil over the pan and place in the oven at 350F for 30 minutes, or until the cheese is melted and golden.
 I serve ours with french style green beans and generally some home made bread.  Didn't get to the bread today, it was a little crazy, but you get the idea!!  Enjoy!


Fruit Snacks

Fruit snacks are a huge must at our house.  Everyone eats them.  The kids like them for a snack, the hubby likes them in his lunch for work, even I eat them as a quick "grab and go" snack.  I started looking into all of the ingredients in a box of fruit snacks, and I was appalled.  Gross.  So much nastiness.  If you are curious, just grab a box out of your cupboard and see for yourself.  We are all guilty of it.  Especially me.  

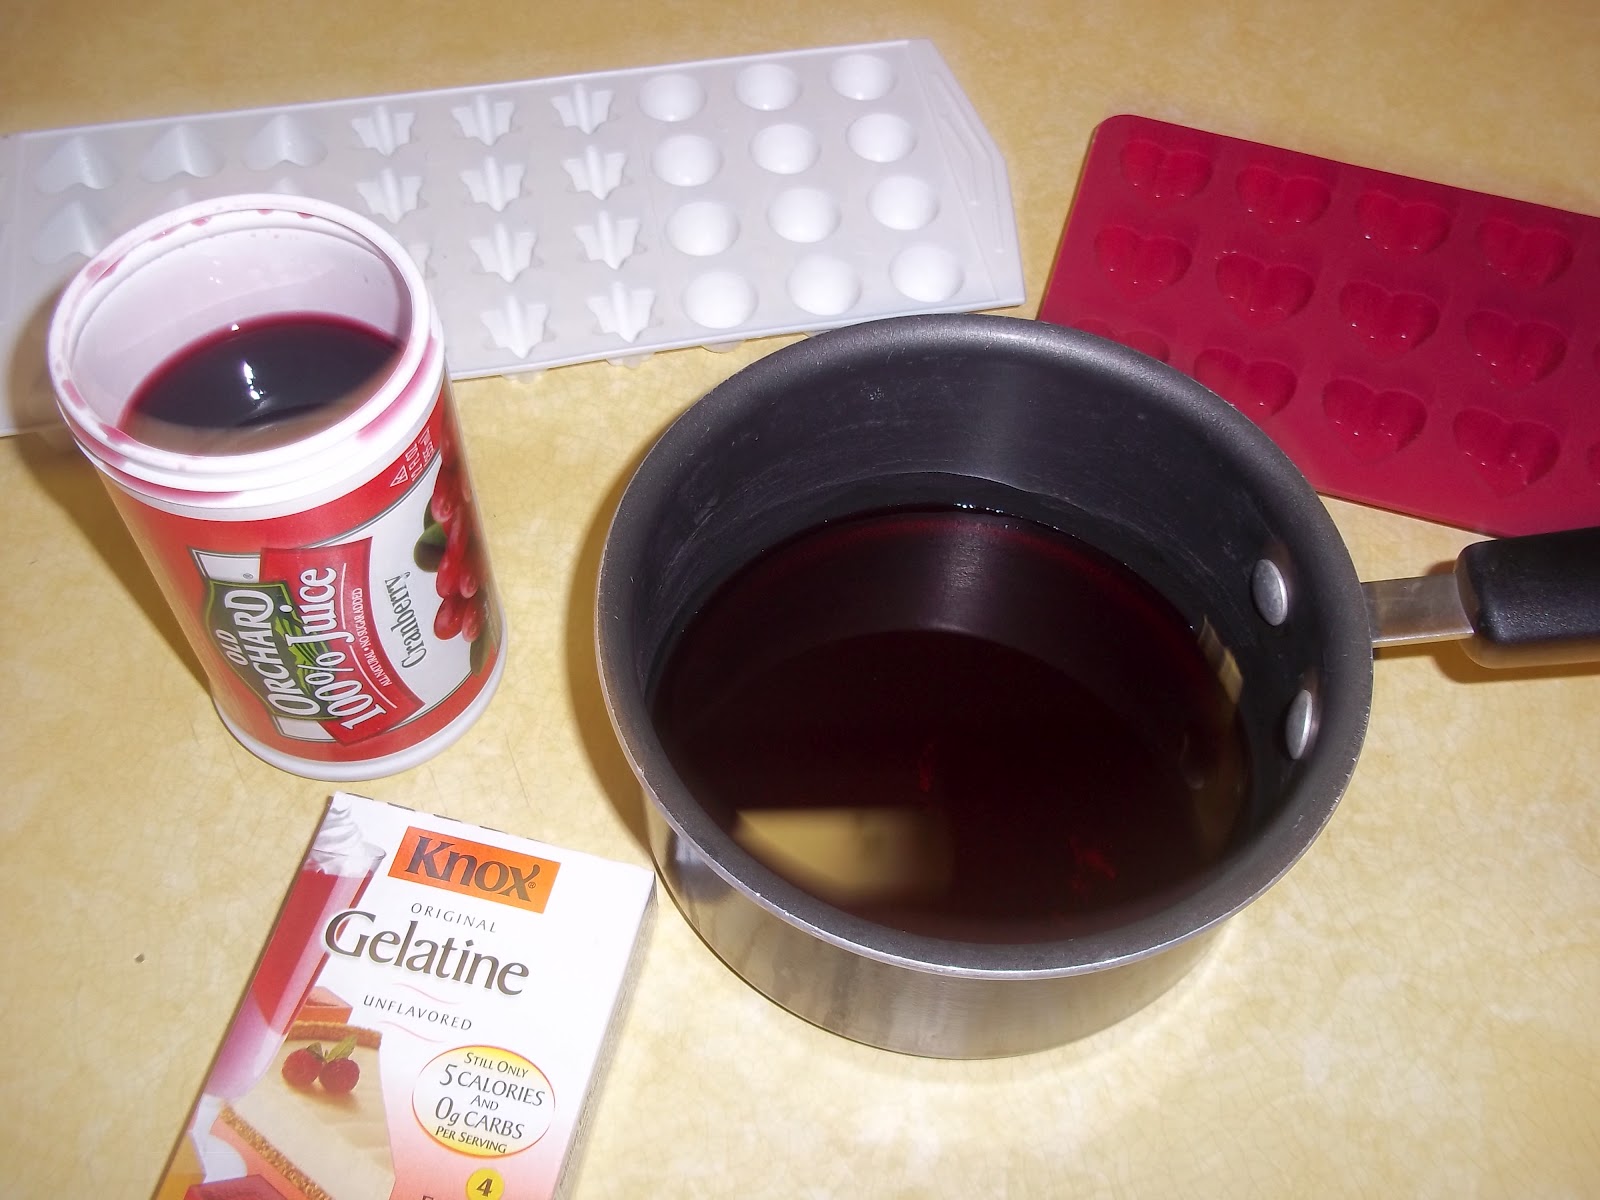
I started looking for recipes for home made "nutritional" fruit snacks and was having a hard time finding something that didn't closely resemble Jello Jigglers.  There are tons of recipes for fruit snacks that use a box of Jello, but those are not always necessarily "good" either.  Then I came across one I thought I could play with a little and voila, we have a new favorite at our house.  Home made, nutritional, no preservatives, no additives and super cost effective. I made two batches of this recipe, which equals out to be more snacks than one box of store bought snacks.  Total price; $1.18 for a box of gelatin and $1.48 for one container of frozen 100% juice concentrate at Wal-Mart.  I only used 1/3 of the juice, so total price for over one box of snacks is $1.67.  Even if I buy the generic dollar store kind of fruit snacks, minimum price is $2.00.  I used mini ice cube trays for the snacks.  Pick a flavor that is strong, cranberry was a huge hit at our house.  Anything with pineapple in it will not work.  Something in pineapple does not let them harden up.  Now, here is the recipe.  And it couldn't be any easier!

Ingredients:
1/3 cup frozen juice concentrate
2 packages of gelatin (box contains 4 packages)


Directions:
Pour juice into a small pan.  Sprinkle the gelatin over the juice and let it sit for a few minutes.  


Over a medium heat, stir the juice mixture until all of the gelatin is dissolved.  I then poured the mixture into a measuring cup with a spout which made it so much easier to pour into the molds.


 After the gelatin is poured into the trays, let it sit for about 20 minutes.  If you start to pull out the snacks and they are still sticking, wait longer.  Once you pull them out, set them on a plate for another 10-15 minutes.  Enjoy!
 

Sunday, May 13, 2012

Monkey Bread Pizza


 Monkey Bread Pizza has become a quick new favorite at our house.  It is relatively easy to make, not too time consuming, and oh so good!  Just take a look at this amazing golden brown goodness!

Ingredients:

2 lbs of pizza dough (this is currently my favorite recipe for pizza dough.  It actually makes enough for two pizzas, or one full pan of monkey bread!  http://www.jasonandshawnda.com/foodiebride/archives/1229)
2 cloves of garlic, minced
4 tbsp. butter, melted
6 oz. mozzarella cheese, cubed (normally about 45 pieces)
1 package of Pepperoni
1 package of Sausage crumbles
Or any other combinations you would like!!
marinara sauce, warmed, for dipping


  • Heat garlic and butter over medium heat just until the garlic begins to brown. Remove from heat and let sit.
  • Lightly brush the inside of a bundt pan (or other oven-safe dish) with garlic butter.
  • Pull off large marble-sized balls of dough and flatten (~2/3 of an ounce, a kitchen scale makes this very easy). Top with a slice of pepperoni, some sausage and a cube of mozzarella.


  •  
  • Wrap the dough around the pepperoni, sausage and cheese, pinching well to seal.
  • Very lightly brush the pizza ball with garlic butter and place into the bundt pan (I dabbed the pizza balls on a butter-dipped silicon brush to keep butter use low - there will be 1+ Tbsp leftover - and my hands butter free. Buttery hands make it hard to get the pizza balls to seal). 

  •  


  •  Repeat until all of the dough is used.
  • Cover and let sit for 30 minutes, while preheating the oven to 400.
  • Bake for ~35 minutes, until the top is very brown.
  • Remove from the oven and let sit for 10 minutes.
  • Turn out onto a platter and serve with warmed marinara sauce for dipping. 

  • Enjoy!


    Angry Birds Birthday Party

    Happy 9th Birthday, Logan!!

    With everything else that has been going on, cupcakes seemed like the way to go for snack at school and they turned out so well, Logan decided his party would not be complete without them too!  Yay, Mom!!
    I started out with 2 regular cake recipes.  One for the cupcakes and one for the cake at home.  
    The picture below shows most of the extras I used for decorating.  Green, yellow and blue decorating sugar.  Red sprinkles, large and small marshmallows, white malted milk balls and orange candy slices.  The only things not pictured are the chocolate chips, jelly beans and frosting. 

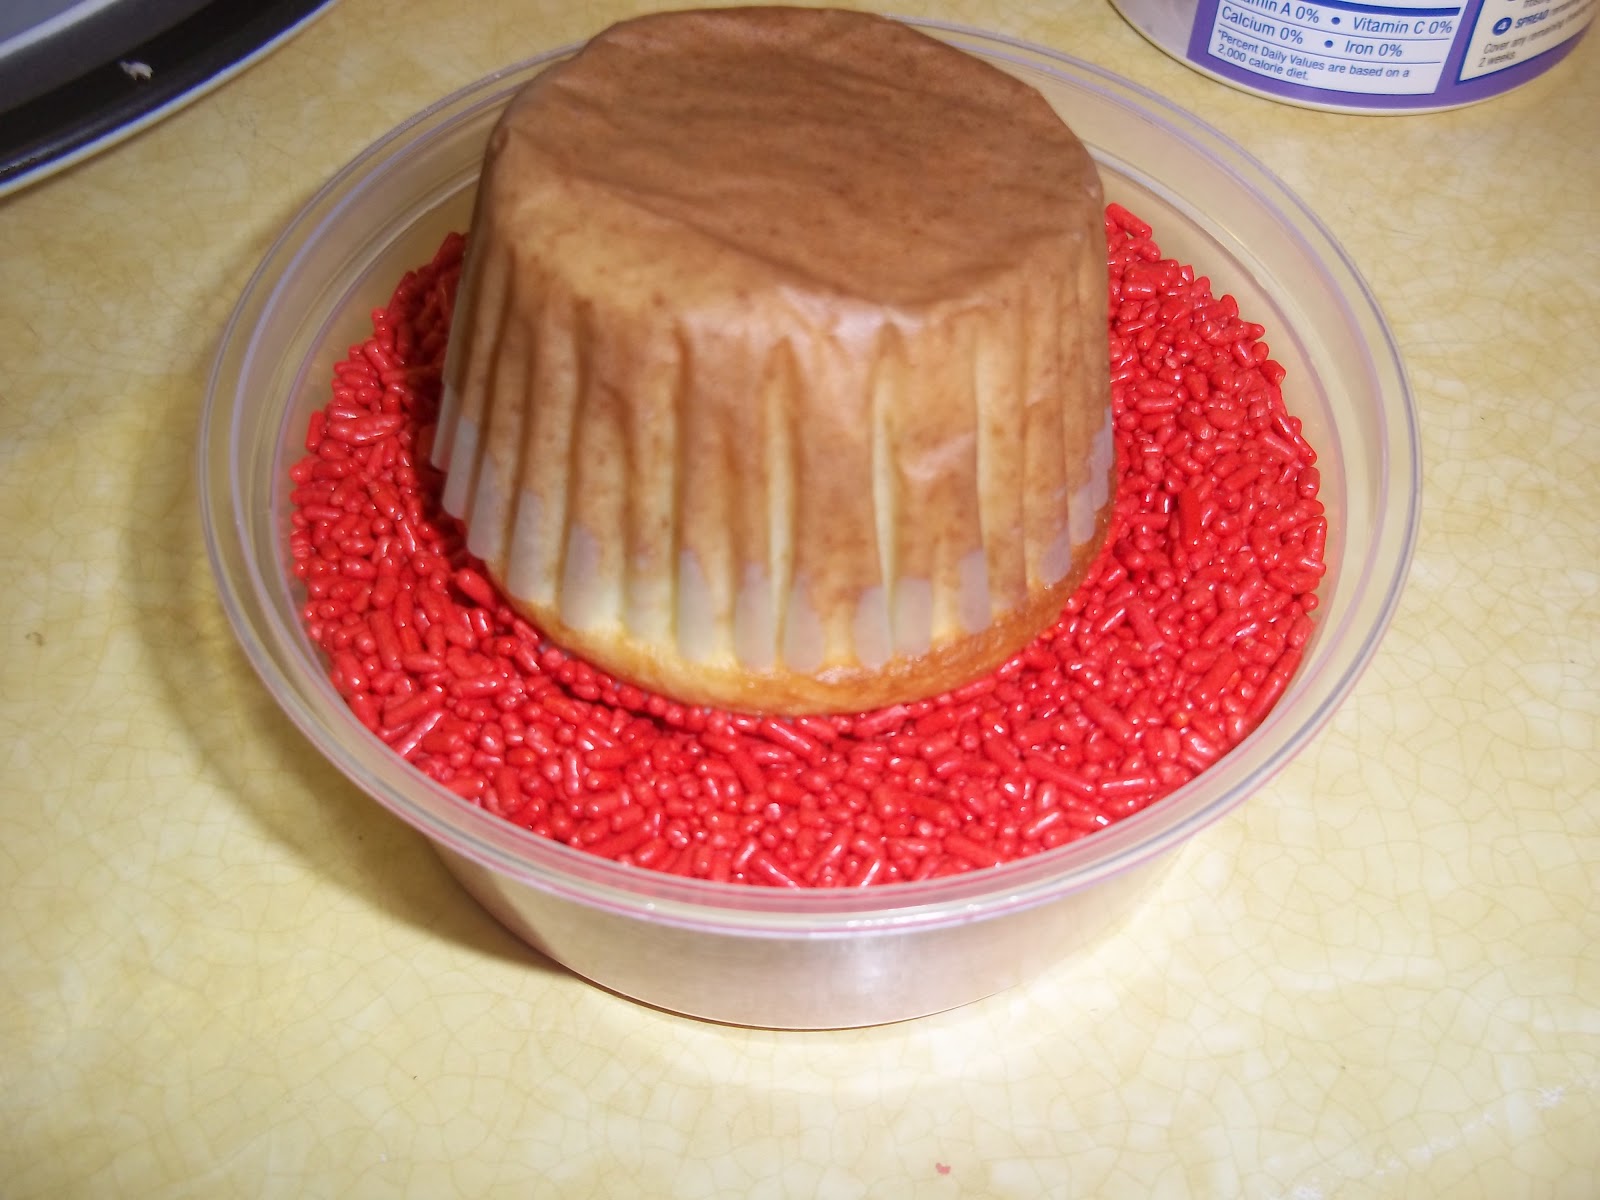
    This was the best part of the entire experience!  I really dislike sprinkles.  They are messy, they get everywhere, they never stay in place.  Until now!  I flipped the cupcakes over after frosting them and dipped them right into the container!  GENIUS!  It was wonderful.  No random sprinkles, no mess, wonderful!

     
     I sliced the oranges in half to make the beak.  The small marshmallows were sliced in half as well then tucked in a chocolate chip, pointed tip down for the eyes.  I sliced the big marshmallow into four slices the long way for the bottom.  Then stuck in the jelly beans and used black frosting piped on for the "angry" eyebrows!  Below is a picture of the three birds, one pig and the eggs.  For the pigs, I used one fourth of the large marshmallows as the nose, then frosted over it before putting in two more chips for the nostrils.  Then I cut the small marshmallows long ways for the teeth.  The eggs are just sitting in the grass (green frosting and sugar!).  After frosting the yellow and blue birds and the pig and grass, I added the colored sugar for a little more fun!  What a success!  Logan was SO incredibly thrilled!


      I used two round cake pans, poured half into each one and baked.  I flipped them both out onto plates.  The first one I left upside down and frosted lightly to hold on the second layer.


     Then flipped on the second cake so the rounded portion of the cake was up like it should be.  I added the green frosting for the entire cake.  Using large marshmallows, cut in quarters, I crafted the nose.  After positioning it onto the cake, I frosted over the marshmallows for the raised look.  I used another large marshmallow cut in quarters for each of the eyes and added chocolate chips for the nostrils and eyeballs.  I used whole small marshmallows for the teeth and four jelly beans for his horns.  After finishing that, I added more frosting around the entire bottom of the cake and stuck the eggs all the way around. 

    And what a success it was.  Logan was beside himself with happiness.  His friends loved them and the mom's raved of my craftiness!  This was my first huge success in this department and I was so excited for it to turn out how I had it envisioned!  It was a relatively easy task, but for someone with my decorating skill, it turned out wonderfully.  I think!  I really had a lot of fun doing this little project and I was so happy to see the joy on my son's face when the final product was unveiled.  No matter what anyone else thinks, that made it all worth my time!  Enjoy!


    Sounds Like Life To Me

    "Sounds Like Life To Me" by Darryl Worley has been the theme song at our house lately.  Nothing terrible, heart breaking or life threatening has been going on, but it seems as though everything else that could possibly happen, has.  Continually.  Never Ending.  It will NOT stop.  And, I feel like I need to listen to the song again.  :)  Henry got sick about 2 weeks ago with a mysterious fever.  There were NO other symptoms.  NONE.  No cough, no runny nose, no ear pulling, no hoarseness, no diarrhea, no vomiting, nothing, just a fever...of 103F.  Nothing major, right?!?!  Wrong.  I was freaking out.  We went to the ER, nothing.  We went to Urgent Care, they did a strep throat swab, listened to his lungs, checked his ears, did blood work, cannot find a thing.  Viral. 

    If you are a Mom, if you have ever had a sick child, if you have ever been told, viral, you will understand.  I HATE THIS WORD!!  There is nothing that can be done.  Wait.  Hopefully, he will get better.  What?!?!  Really, that is the answer I get?  Now, don't get me wrong, our doctor is a close family friend and I believe what he says.  But, it sucks.  When your 15 month old has a fever of 103F and there is nothing you can do, you feel helpless.  Six days we went through the same routine.  Tylenol, one hour of orneriness while we waited for it to kick in, one hour of sleeping or slightly less orneriness, one hour of crabbiness, ibuprofen....and on, and on and on.  :(  It was rough, on everyone.  Then day six came and it was gone, just as fast as it appeared.  Ugh.

    Logan started soccer about three weeks ago.  This is always a fun time of year for us.  We have been a "soccer" family for four years now, so we really get into it.  But, that also means we have practice twice a week for an hour at a time.  Plus games on Saturday morning.  It is tons of fun, but another time sucker in an already crazy schedule.  Sophie has been doing well.  Thankfully.  With everything else going on, I don't know if we could handle much more.  Logan's birthday was also this week.  I cannot believe my boy is nine years old already.  Crazy how time flies so fast.


    So, we had a birthday breakfast of Chocolate Chip pancakes.


     Then we were thankful to share Logan's birthday cake with Grandma whose birthday falls two days before Logan's.


    And through all of this, we were able to have a little craft time.  Happy Mother's Day!


    Thursday, May 3, 2012

    Field Trip

    I was able to take a day off from my little's today and spend the day with my oldest son, Logan.  He is a 3rd grader this year and they had a field trip planned to a park with a zoo and then to The International Crane Foundation.  Amazingly, we live in a very small area, but are blessed with this amazing place.  As a high school student, we were able to choose a place in our area we wanted to volunteer on Earth Day each year.  I chose the Crane Foundation as a freshman and fell in love with the beautiful creatures and the incredible work that was being done so close to home.  I returned throughout each year of high school, so when this trip came up, I signed up in a hurry!

    Our day started a little shaky...at the park we encountered a downpour that was accompanied by hail...fantastic!


    Thankfully, it cleared up pretty quickly and we were able to continue on with our day.  The kids had a ton of fun playing at the playground and checking out all the amazing animals!


    The bobcat was a huge favorite with my son, although she laid in her hammock and didn't do a whole lot.  


    I loved the wolves!  They were absolutely beautiful!  The lady was taking it easy in this pic, while the gentleman watched over the home front!  :)  Of course, the kids picked out the log shaped as a heart right away and I couldn't help but snap a few pics of them "in love."  <3


    After some time spent admiring the beautiful animals and playing on lots of toys, we moved on to the International Crane Foundation.  What an amazing place!  If you are ever able to make the trip, it is worth the admission price and then some!  The birds are incredible, the grounds are majestic and the people volunteering love what they do.  Here are a few pics of some of the amazing birds, habitats and murals that they have to offer. 


    I am really in love with this amazing place.  Not only is it an educational place for the children to learn about so many different things, from wetlands, to habitats, to endangered species, to the different things we can do as a community to help preserve these majestic creatures, but it is FUN!  I posted a link to their website if anyone is interested in checking it out.  :)